How to create retro aesthetic poster in Photoshop
Today, I’m going to show you how to blend a stock image with shapes and pattern, add lightness and color to get a nice retro poster in Adobe Photoshop CS4. Layered PSD file included. Let’s get started!
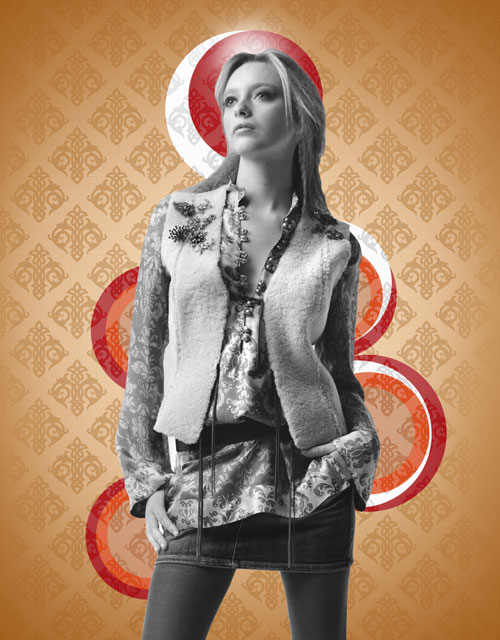
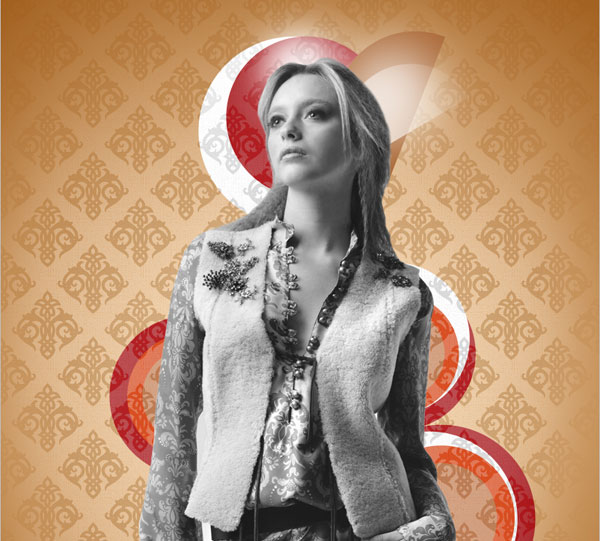
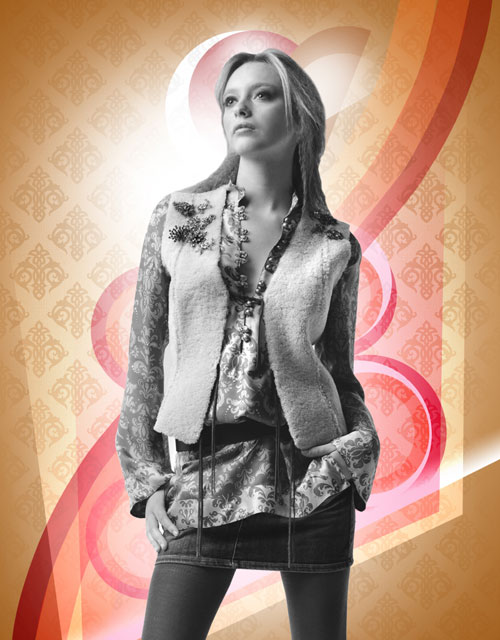
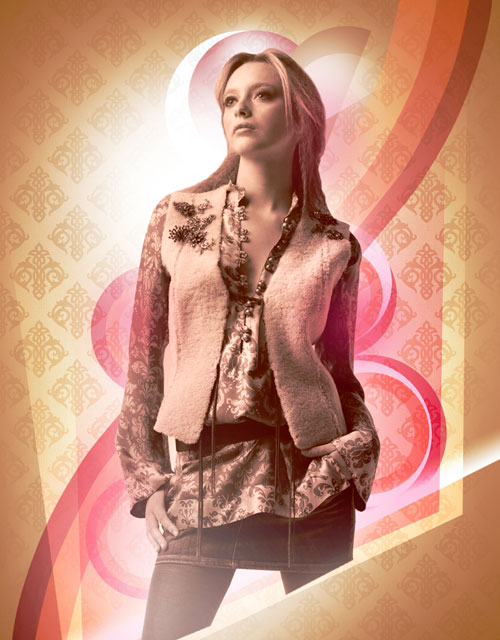
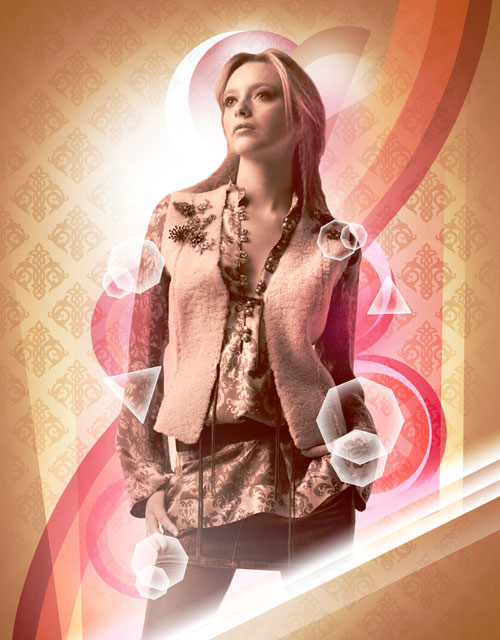
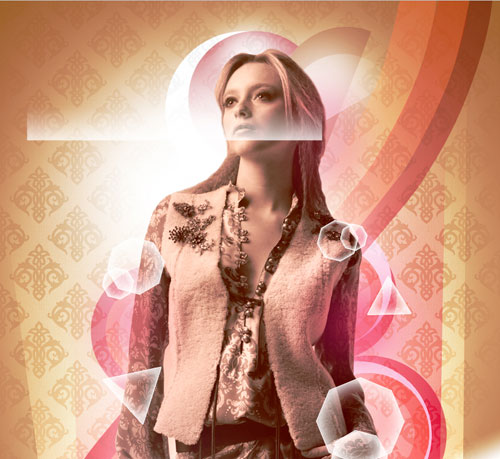
Final Image Preview

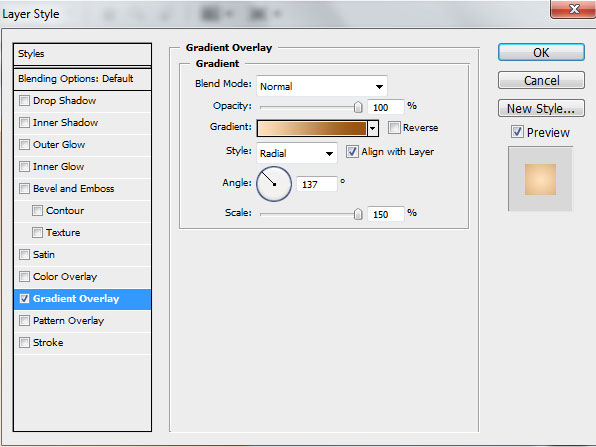
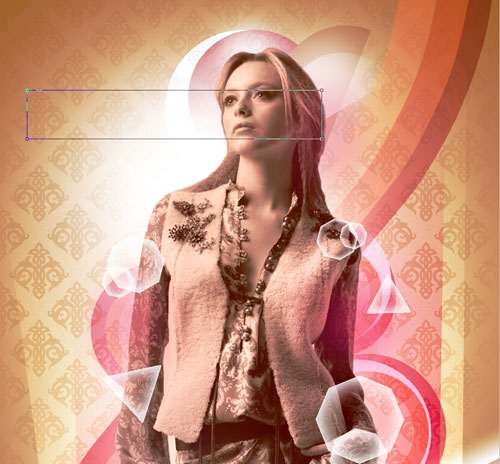
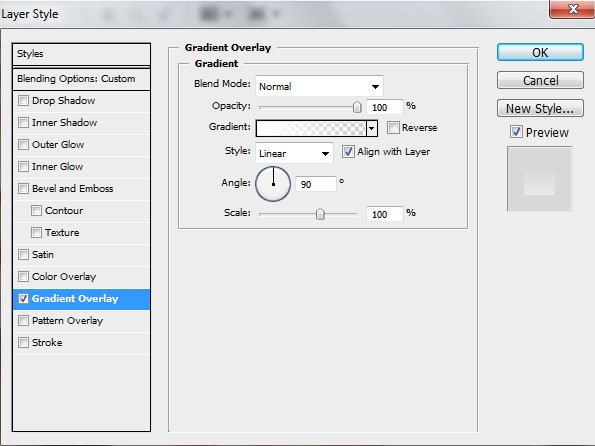
Create a new document (Ctrl+N) in Adobe Photoshop CS4 with the size 800px by 1024px (RGB color mode) at a resolution of 72 pixels/inch. Create a new layer and click on Add a layer style icon from bottom part of the Layers panel and select Gradient Overlay.
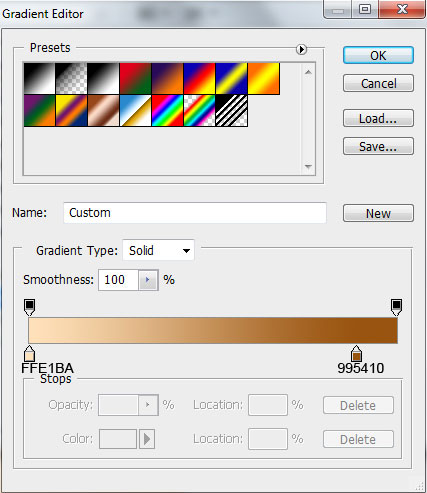
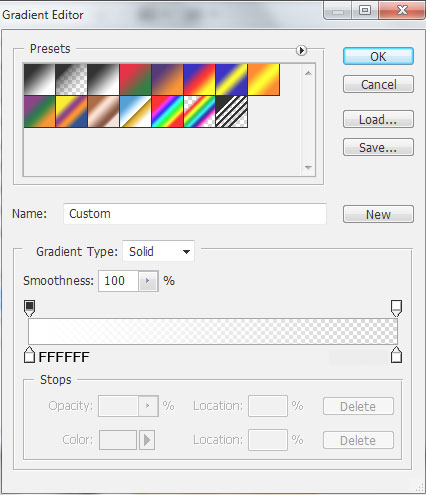
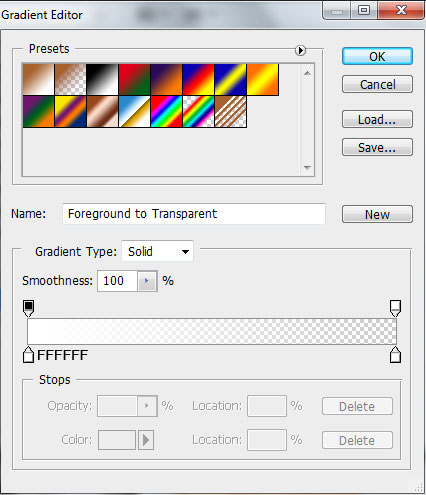
Click in the color bar to open the Gradient Editor and set the color stops as shown. Click OK to close the Gradient Editor dialog box.
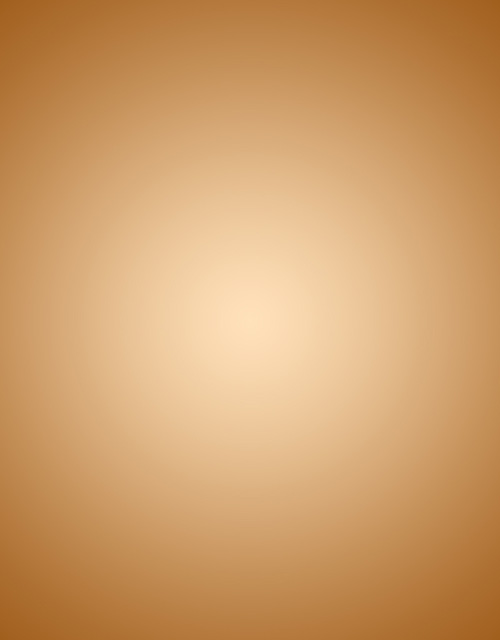
We’ve got the next result:
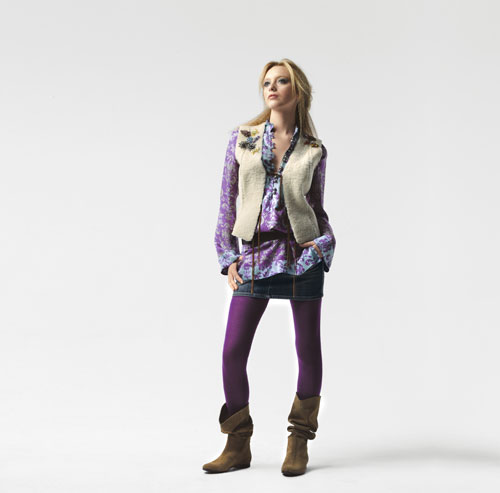
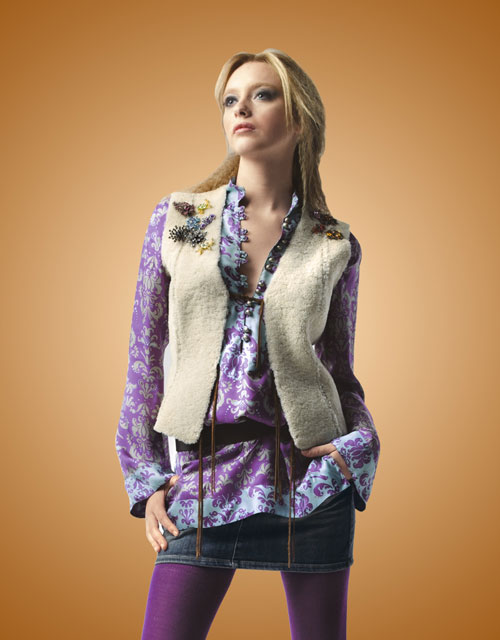
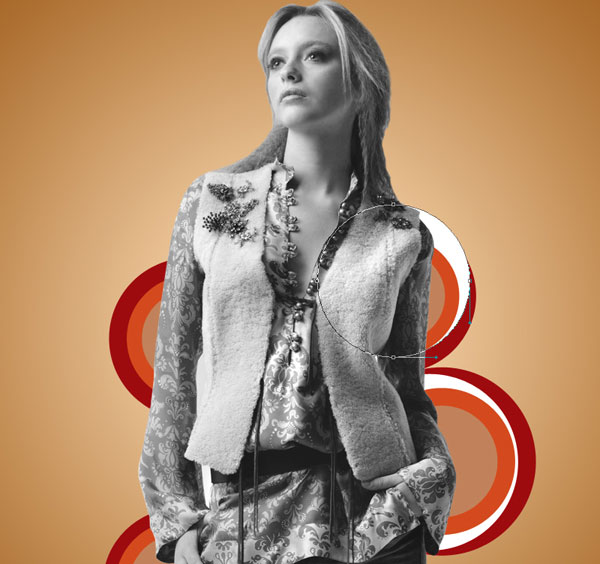
Find a stock photo with a model represented on it, I used this photo from deviantart. I would like to thank the author of this photo, or if you prefer, you can substitute similar image of your own.
Remove the background using your favorite tools like Pen Tool (P), Magic Wand Tool (W), Magnetic Lasso (L) or even a simple Filter>Extract and insert it on a new layer in our main document.
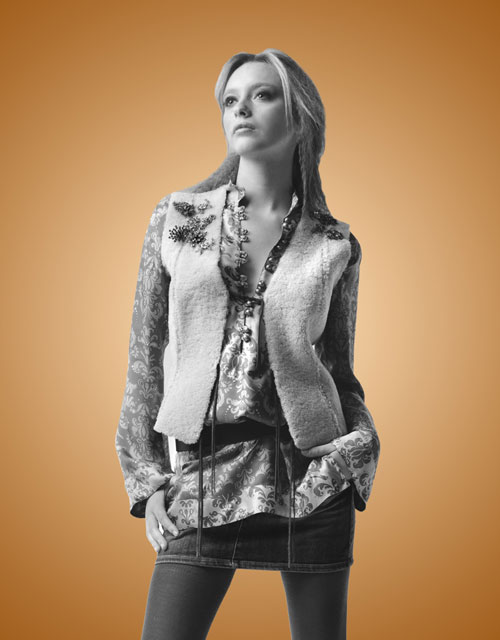
Desaturate the girl’s layer by selecting Image>Adjustments>Desaturate or just press CTRL+SHIFT+U.
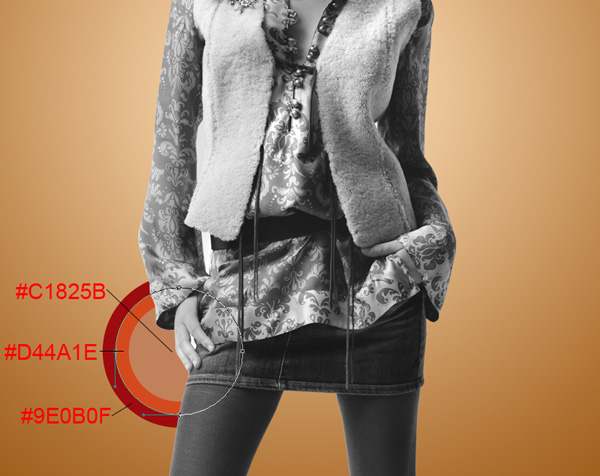
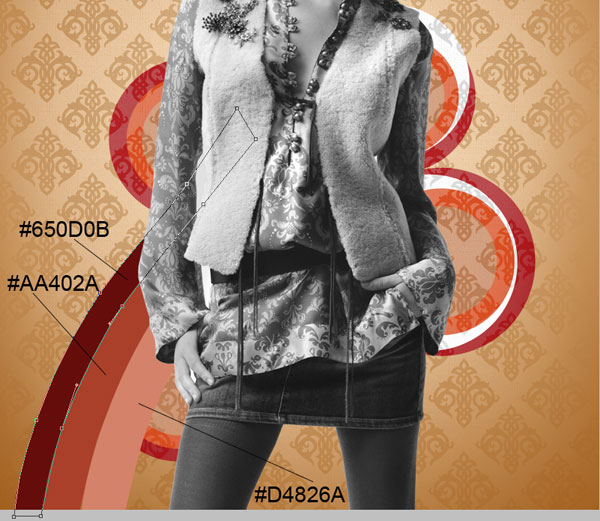
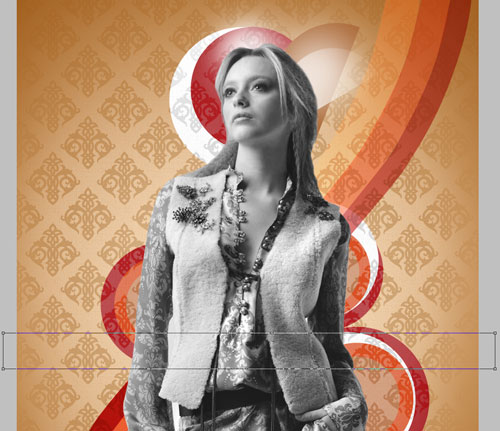
Take now the Ellipse Tool (U) and represent three small ellipses which should be placed lower than the girl’s layer. The colors are indicated in the next image:
Take the same tool again and represent three more circles of the same colors and place them also lower than the girl’s layer.
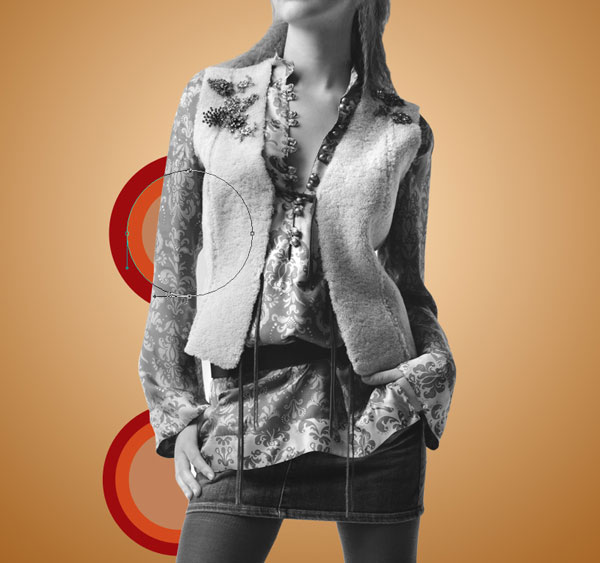
Take again the Ellipse Tool (U) to represent several small ellipses of different diameters and place them under the girl’s layer too:
Using the same tool, represent two more ellipses above the girl’s head and place the layer under the girl’s one.
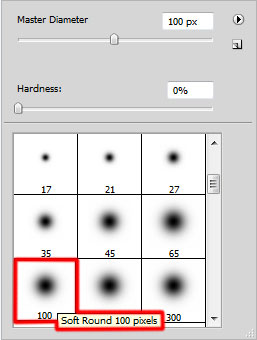
Create a new layer and select Soft Round brush of white color (set Opacity to 20% in the Options bar).

Use this brush to represent a kind of lightness above the girl’s head. Place the layer also lower than the girl’s one.
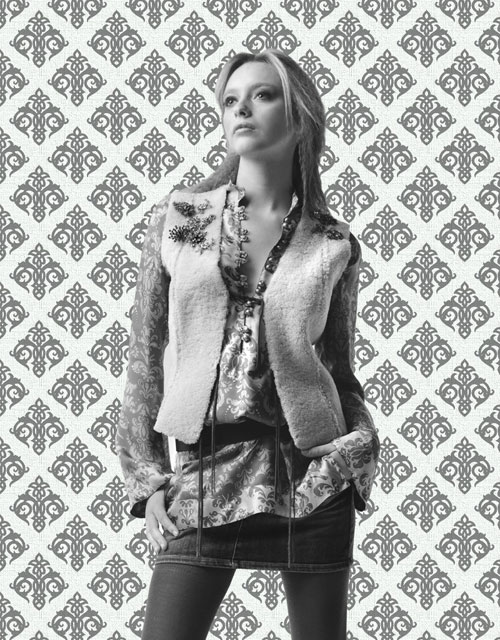
Next we’ll generate the next pattern using Bgpatterns site. Download the pattern file.

Open it in Adobe Photoshop and choose Edit > Define Pattern. Enter a name for the pattern in the Pattern Name dialog box.
Get back to the girl’s document and create a new layer. Choose Edit > Fill to fill the new layer. In the FillUse, choose Pattern, select recent created pattern from the pop-up panel, and click OK. Place the layer under the girl’s one. dialog box, for
Set Fill to 29% for this layer and change the Blending mode to Luminosity.

Click on the same layer on the bottom part of the Layers’ panel on Add layer mask icon and using the Soft Round brush of black color (set Opacity to 15% in Options bar) paint in the mask to hide the layer’s edges:
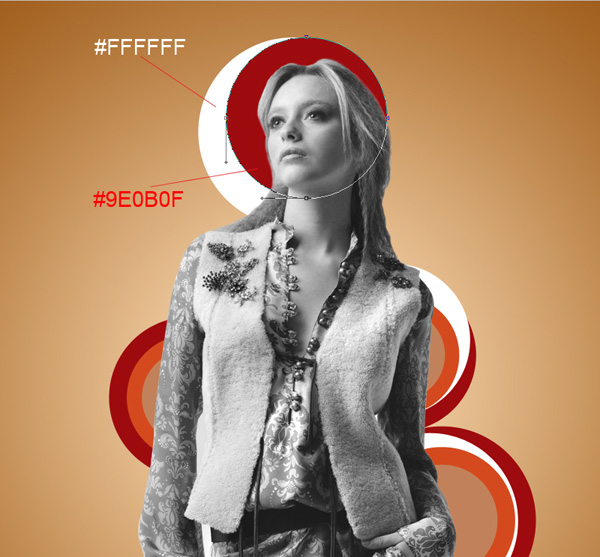
Next we have to represent a half circle. In this case we’ll use the Ellipse Tool (U) to draw an ellipse and then press Alt button while using the Rectangle Tool (U) to cut out the ellipse. The color for it is #A7622E. Place the layer under the girl’s one.
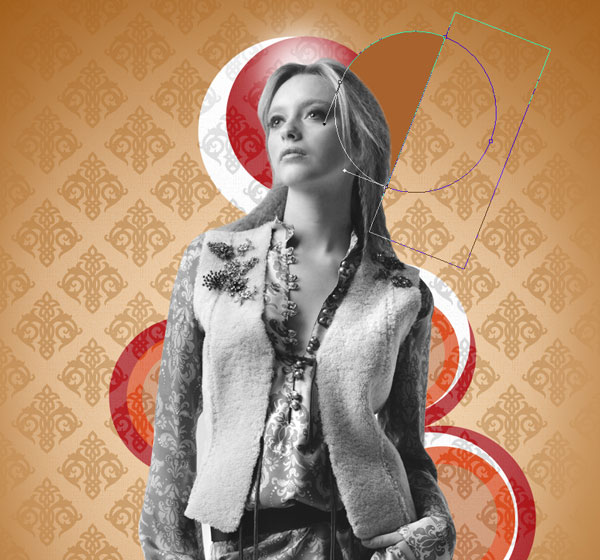
Make a copy of the last made layer and apply Free Transform (Ctrl+T) command to change the copy’s sizes, turn it over and place it the same way as below:

Set Fill to 0% for this layer and click Add a layer style icon from bottom part of the Layers panel to select Gradient Overlay.
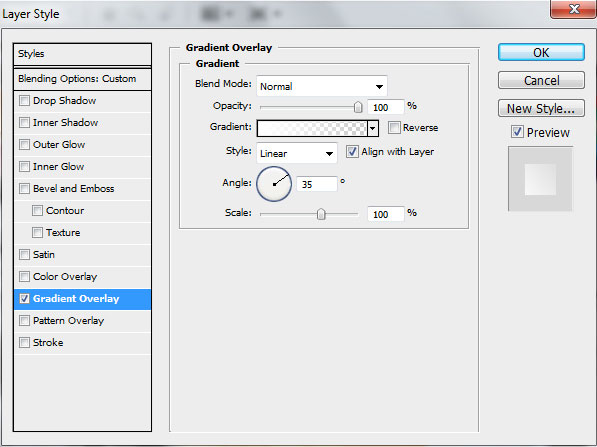
Click in the color bar to open the Gradient Editor and set the color stops as shown. Click OK to close the Gradient Editor dialog box.

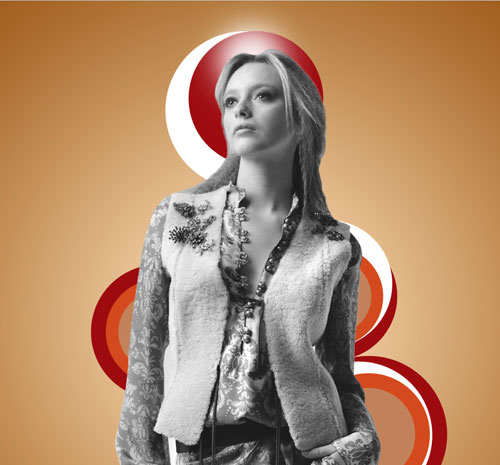
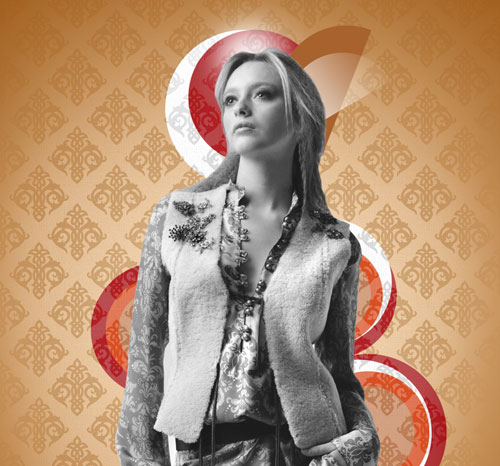
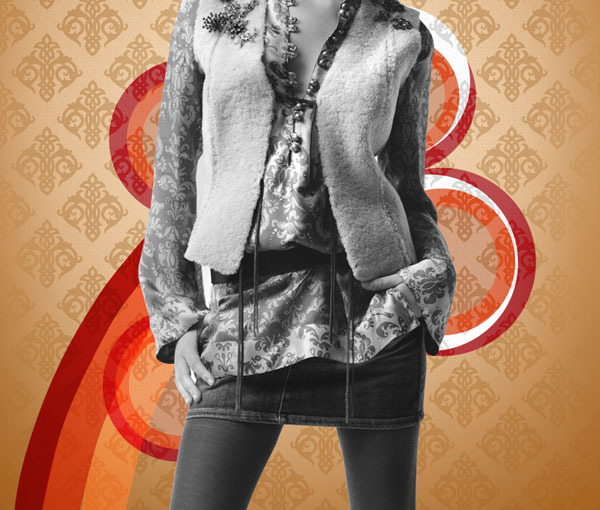
We’ve got the next result.
Create a new layer and select the Soft Round brush of white color (set Opacity to 15% in Options bar).

Use this brush to draw a kind of highlight:
Take now the Pen Tool (P), set the drawing mode on Shape Layers in Options bar to draw the next shapes as shown and place them under the girl’s layer.
Set the Blending mode to Hard Light for each layer containing the shape.
Next we have to combine in a group all the layers composing those three shapes (press CTRL button to select the necessary layers in Layers panel and hold on the left mouse’s button while dragging the selected layers on Create a new group icon from bottom part of the Layers panel).
Make a copy of the group and select Free Transform (Ctrl+T) command to turn over the copy, placing it as below:

Set Opacity to 60% for the group:
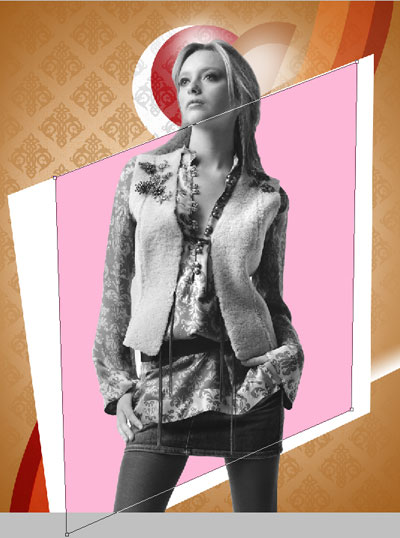
Take now the Rectangle Tool (U) and draw a rectangle. Place the layer under the girl’s one.
Set Fill to 0% for this layer and click on Add a layer style icon from bottom part of the Layers panel and select Gradient Overlay.

Click in the color bar to open the Gradient Editor and set the color stops as shown. Click OK to close the Gradient Editor dialog box.
We’ve got the next gradient on the rectangle.
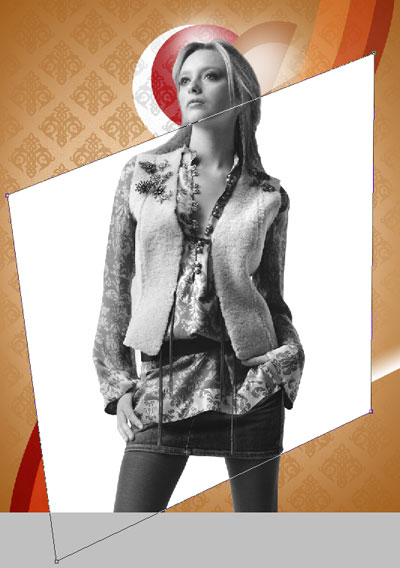
Now we have to rasterize the rectangle’s layer. In this case create a new layer above the rectangle’s layer and select both layers, press finally CTRL+E to Merge Down. Using the Free Transform (Ctrl+T) command we may incline the rectangle and place it as below:
Using the Pen Tool (P), try to represent the next shape of white color and place it under the girl’s layer.
Using the same tool, try to make the next shape, but smaller than the previous one of the color #FDB8D7
Add layer mask on each layer with the shapes and select the Soft Round brush of black color (set Opacity to 20% in Options bar).

Use this brush to hide out the top parts of the shapes.
Set Fill to 25% for the layer with the white shape and change the Blending mode to Linear Dodge. For the pink shape set Fill to 60% and change the Blending mode to Linear Burn.
Create a new layer and select the Soft Round brush of white color (set Opacity to 20% in Options bar).

Use this brush to represent a kind of lightness behind the girl. Place the layer under the girl’s one.
Insert the mask (Add layer mask) on the girl’s layer and select the Hard Mechanical brush of black color.
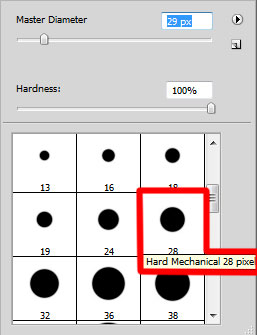
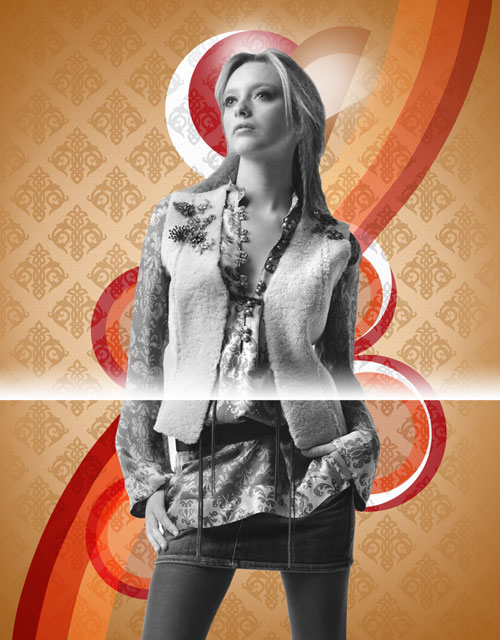
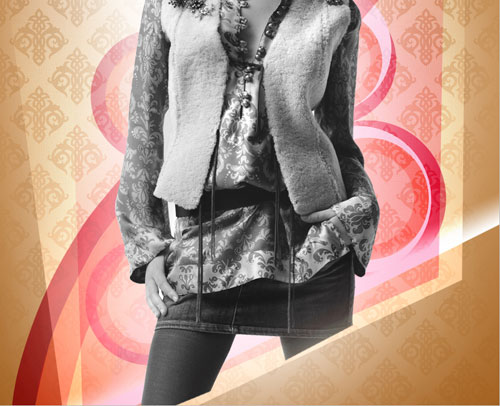
Use this brush to main in the mask to hide out the girl’s legs, as it is shown on the next picture:
Create a new layer and choose the Soft Round brush.

Use this brush to paint the girl with the next color #D94B17.
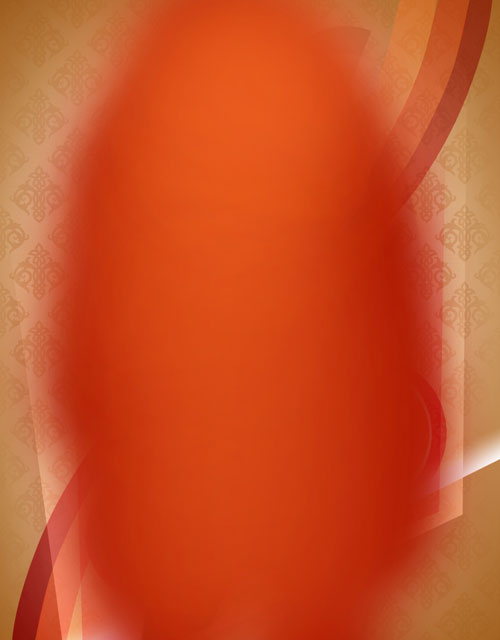
Set Fill to 19% for this layer and change the Blending mode to Linear Light.
Let’s create a clipping mask to make the content of the layer containing the #D94B17 color only visible within the content of the layer containing the model. Hold down Alt (Windows) or Option (Mac OS) and click between layer with #D94B17 color and the layer with model (on the Layers panel).
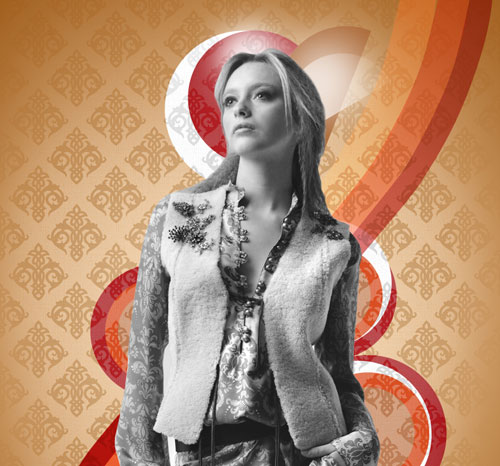
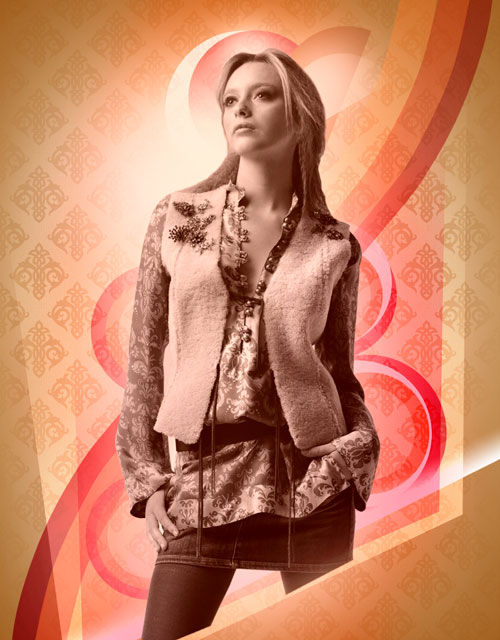
We’ve got the next result:
Create a new layer and select here the Soft Round brush. Choose the next color for the brush - #F5004F
Use this brush to paint the girl on the indicated zones.

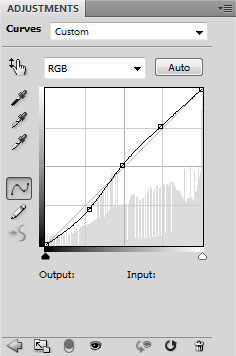
Click Create new fill or adjustment layer from bottom part of the Layers panel and select Curves to adjust the curve shape as shown to make a little color corrections.

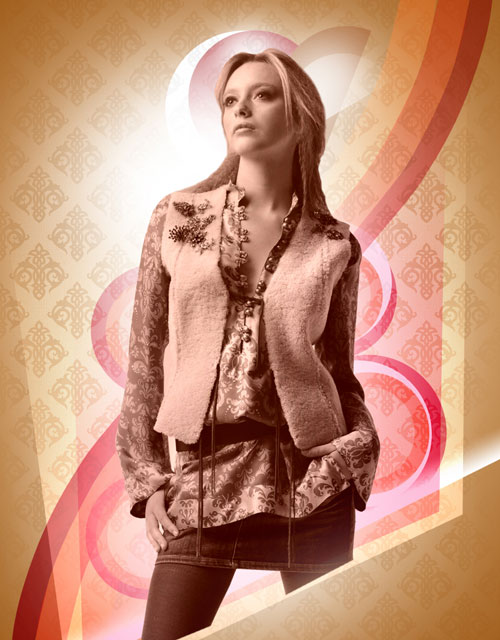
We’ve got the next result:
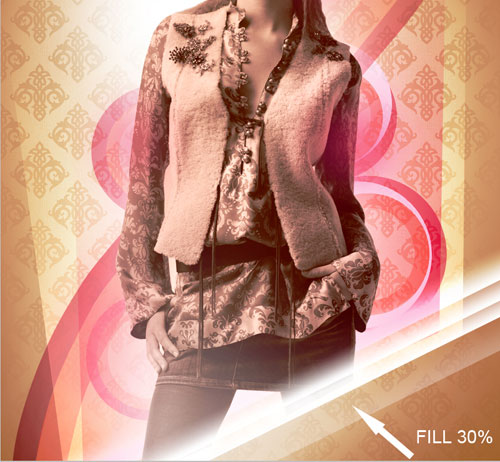
Make three copies of the layer with the white inclined rectangle near the girl’s legs and change the Fill to 30% for the copy’s layer.
Next we have to represent several shapes with the same Layer Styles for the layer.
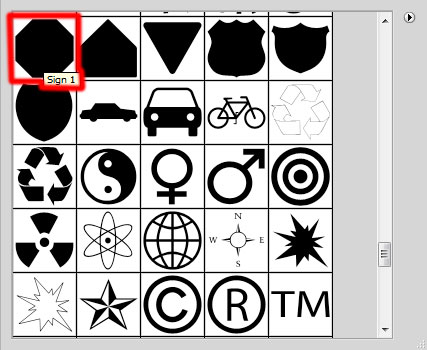
Select the Custom Shape Tool (U) in the Tools bar, in the Options bar click the Shape to open the selection menu. Find Sign 1 at the bottom of the menu, and then double-click a shape thumbnail to select it.
Click and drag to draw the shape.
Click on Add a layer style icon from bottom part of the Layers panel and select Inner Glow.
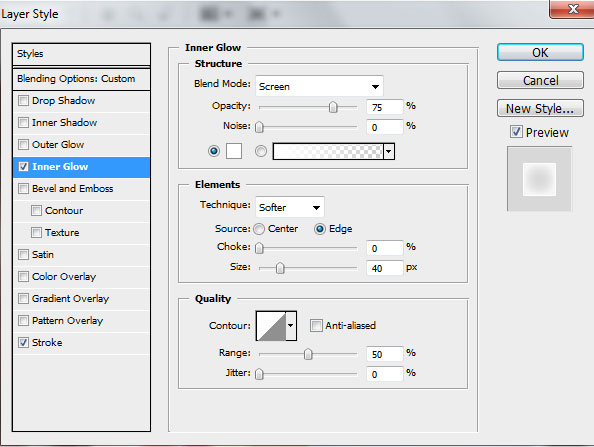
Add Stroke
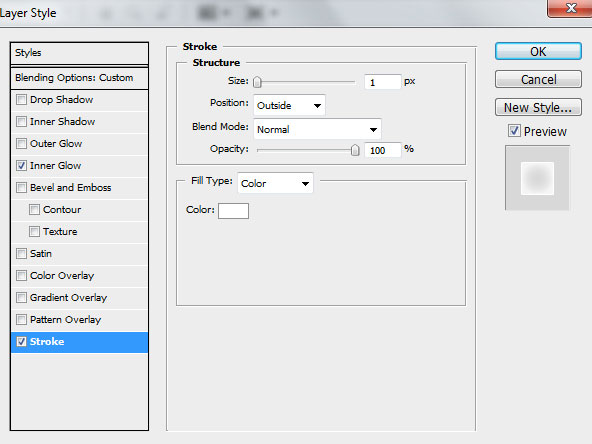
We’ve got the next result:
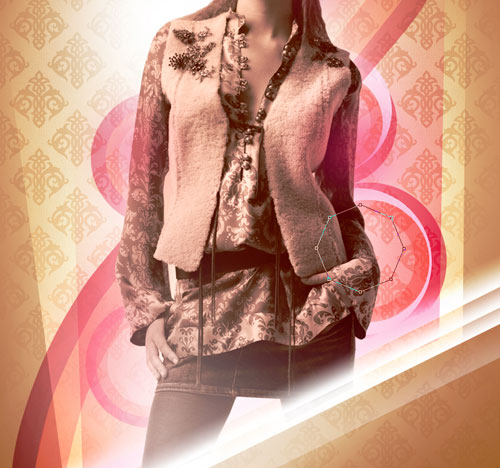
Select the Custom Shape Tool (U) again and find Triangle at the bottom of the menu, and then double-click a shape thumbnail to select it.
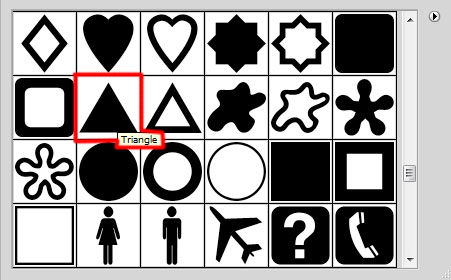
Click and drag to draw the shape. Apply the same Layer Style for this shape (Inner Glow and Stroke). Add more shapes as shown:
Let’s represent a rectangle, applying the Rectangle Tool (U).
Set Fill to 0% for this layer and click on Add a layer style icon from bottom part of the Layers panel and select Gradient Overlay.
Click in the color bar to open the Gradient Editor and set the color stops as shown. Click OK to close the Gradient Editor dialog box.
We’ve got the next gradient on the rectangle.
Rasterize the layer containing the rectangle the same way described above. In this case we’ll create a new layer above the rectangle’s one and select both layers. Then press CTRL+E to Merge Down. Make five copies of the new layer and choose finally Free Transform (Ctrl+T) command to place the copies the same way demonstrated next picture.
Combine in a group all the layers containing the rectangles (press CTRL button to select the corresponding layers in Layers panel and hold on the left mouse’s button while dragging the selected layers on Create a new group icon from bottom part of the Layers panel).
Add the mask for the group (Add layer mask) and select the Soft Round brush of black color (set Opacity to 20% in Options bar).

Use this brush to hide out the layer’s edges.

Click Create new fill or adjustment layer from bottom part of the Layers panel and select Curves to adjust the curve shape as shown to make a little color corrections.
We’ve got the next result:

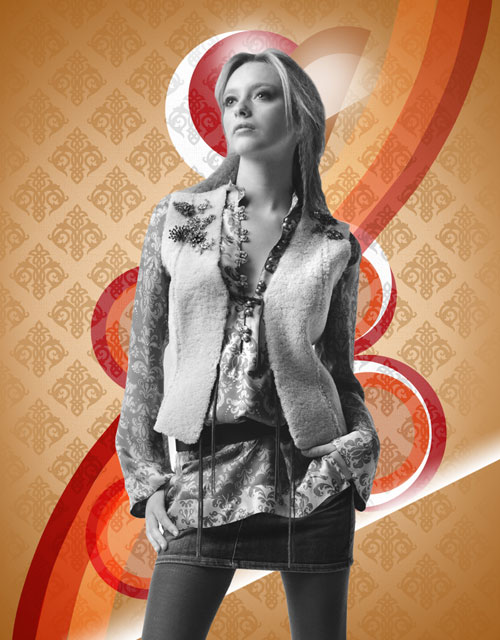
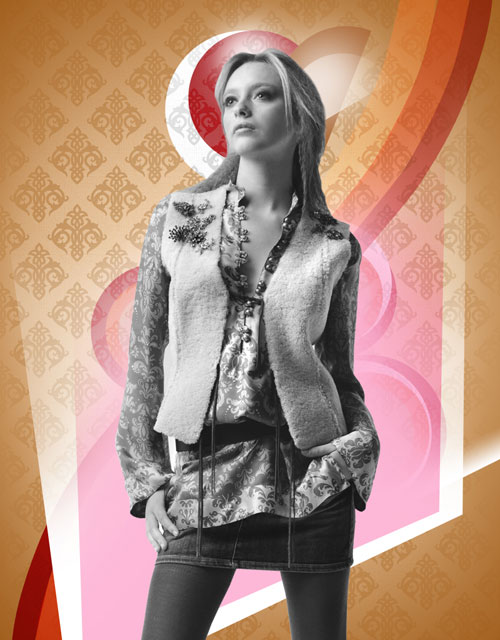
Finished!
www.adobetutorialz.com


