Create a Mysterious, Dark Horror Scene with Crack Brushset in Photoshop
In this tutorial, I will show you the process I took to create this Mysterious, Dark Horror Scene with Crack Brushset in Photoshop. This is an intermediate level tutorial so some steps can be tricky, but why not have a try!
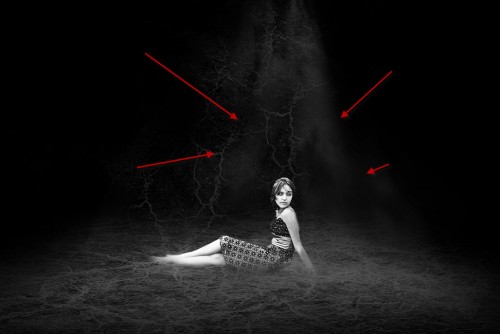
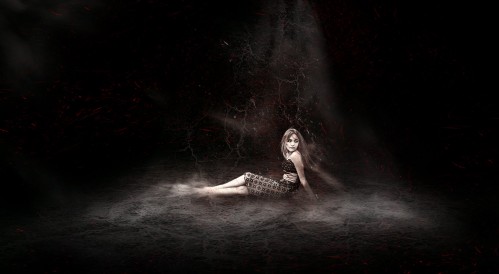
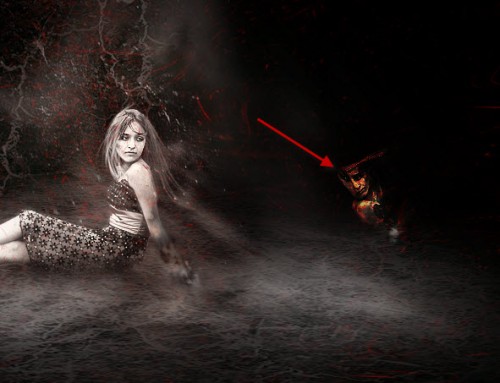
Here is a preview of the final effect I have for this tutorial: (click to enlarge)

To complete this tutorial, you will need to the following stock:
Crack Brushset
Model – ~stox-and-bunz
Space Brush
Step 1
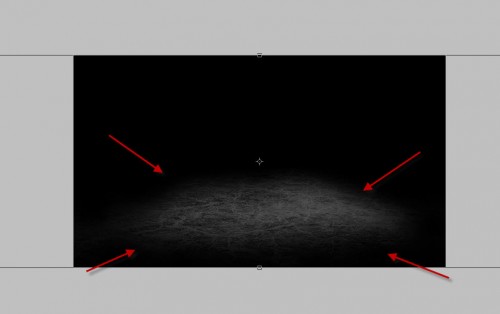
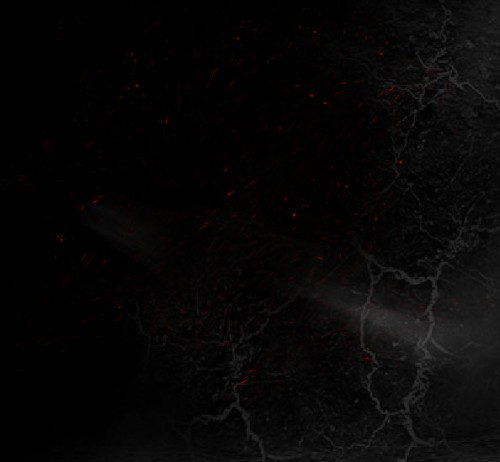
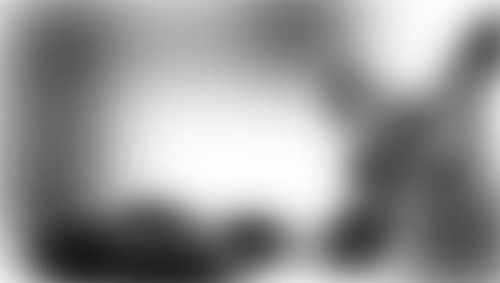
Create a new document sized 1400px * 800px, fill the background with black colour. Load the Crack brushes in Photoshop and paint some crack texture on a new layer, and erase the edges with a soft eraser:
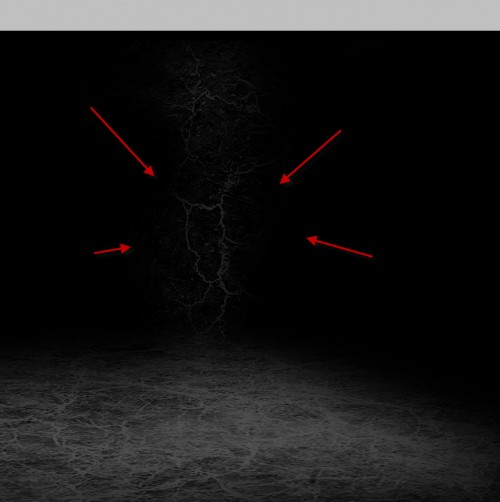
Create a new layer and once more paint some crack texture, erase the edges until you produce something as shown below:
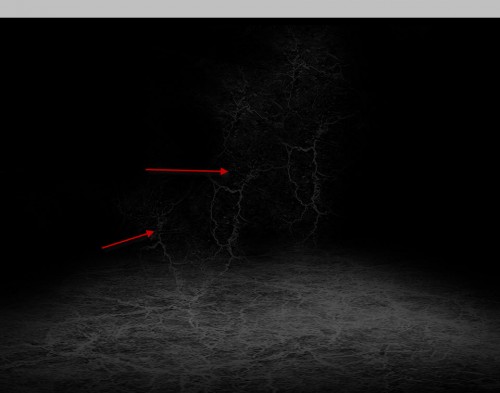
Duplicate this layer twice and move them to the position shown below:
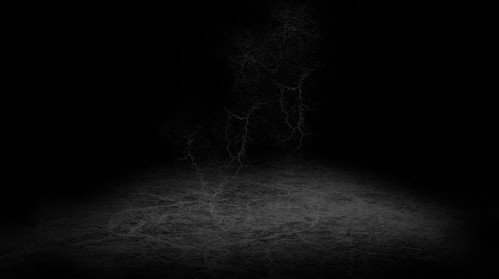
and here is the effect so far:
Step 2
Load the model image into Photoshop, cut out the girl and paste it onto our document: (Resize it to fit our canvas size)
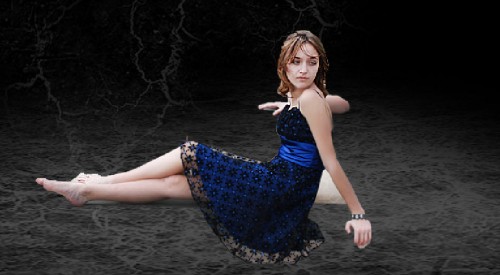
Erase the edges and the right arm with a soft brush:
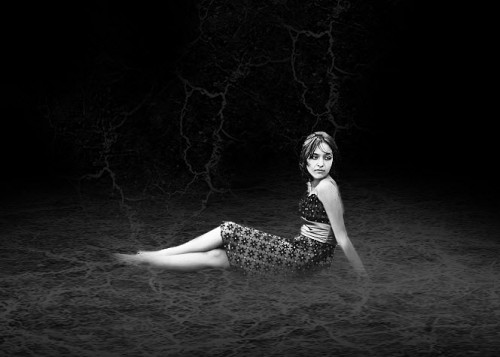
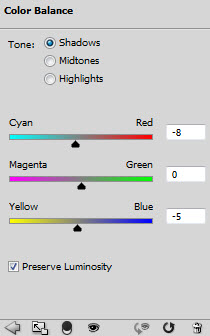
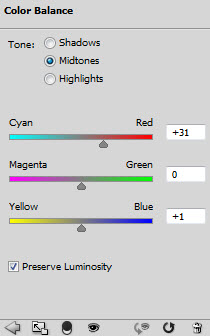
Black and White

and here is the effect so far:
Step 3
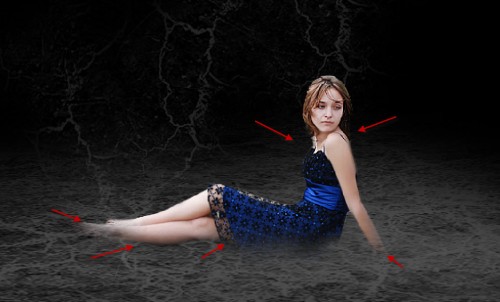
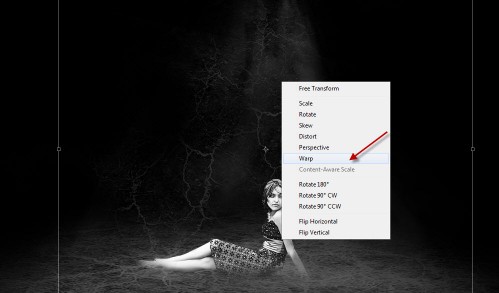
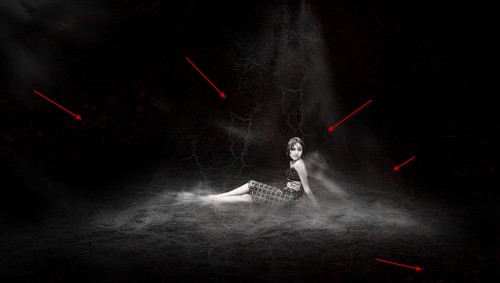
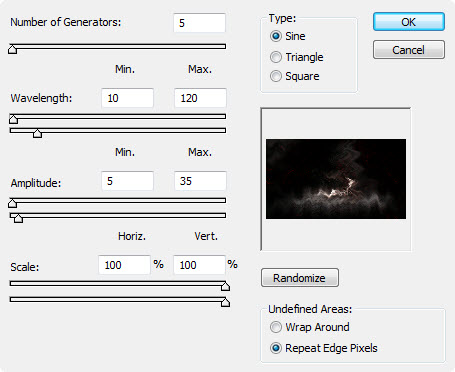
Now we’re going to render some cloud around the girl and the crack wall. You can either use the cloud filter or use cloud brush to achieve this effect.Add some cloud on the top cracked wall, erase the edges as shown below:
When you render cloud, make sure you utilise the free transform tool (distort, warp) functions to alter its shape.
Cracked Floor

Over the shoulder:

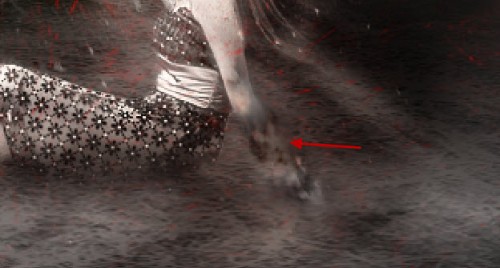
Feet area:
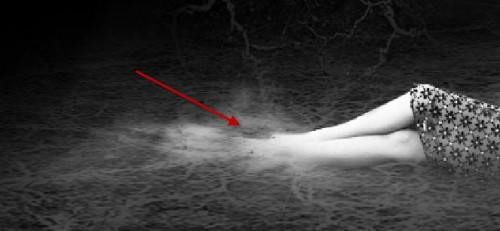
and here is the effect so far:
Step 4
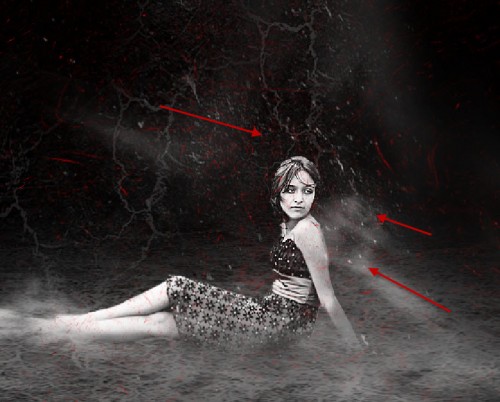
Now let’s add some red blood particles into the image. We can use the space brush we downloaded, paint an area as shown below: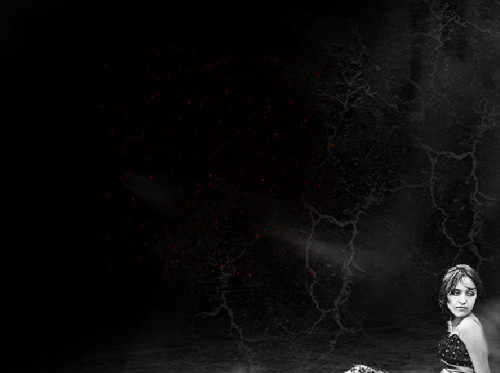

Step 5
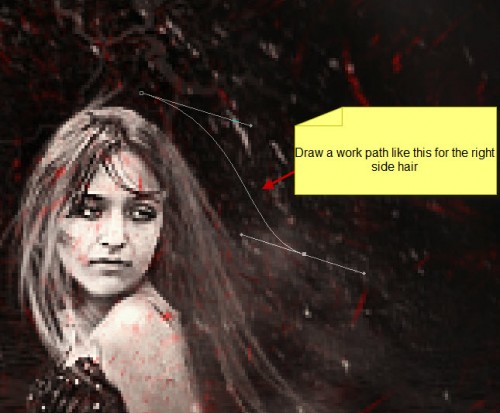
I decided to add some vexel hair on the girl. I won’t be going through the detail in this tutorial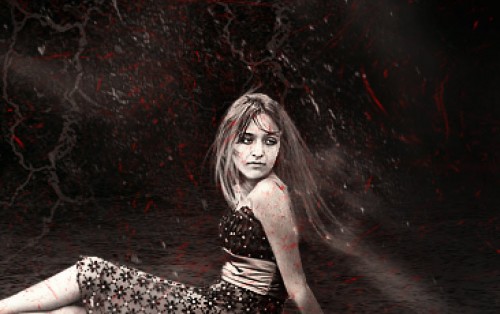

Step 6
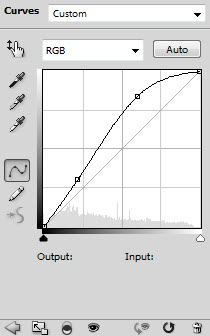
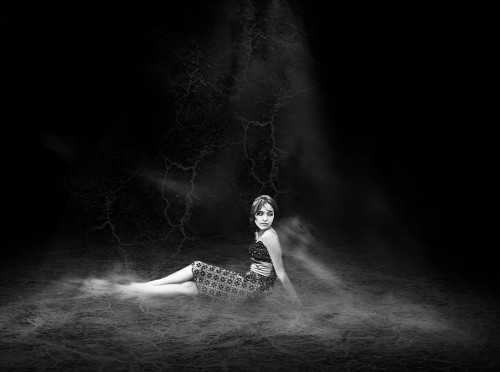
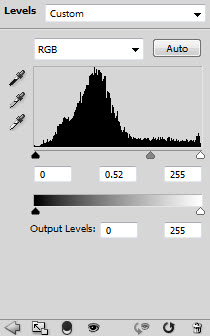
We’re almost done. For some final touchups, you can flatten the image, duplicate the background layer and apply the following radial blur filter to it: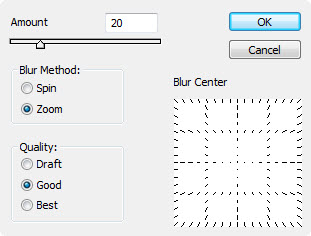
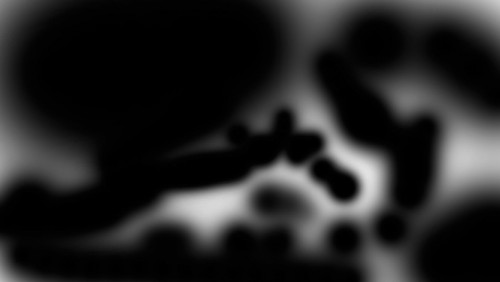
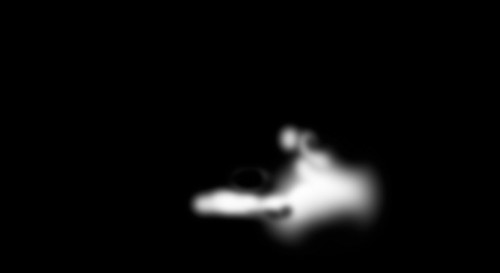
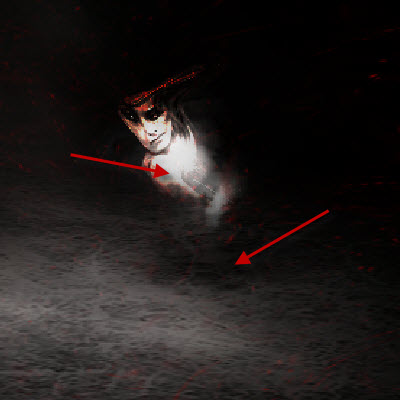
Paint some lights and shadows underneath the distorted figure:


Source : www.psdvault.com


